Around the globe, more than five million designs have been created using iScape, helping homeowners and industry pros save time, money, and energy. We can bring a user’s vision to life through thousands of plants, hardscapes and outdoor living elements, virtually placed within the app. City dwellers, suburbanites, rural residents, businesses, college and university horticulture departments, school and community gardens, facilities managers, park districts and municipalities – all will find our app remarkably useful for their diverse needs.
But just in case you don’t know where to start, here’s a more in-depth look at our Augmented Reality feature. Follow this step-by-step tutorial and create the perfect design for your landscape!
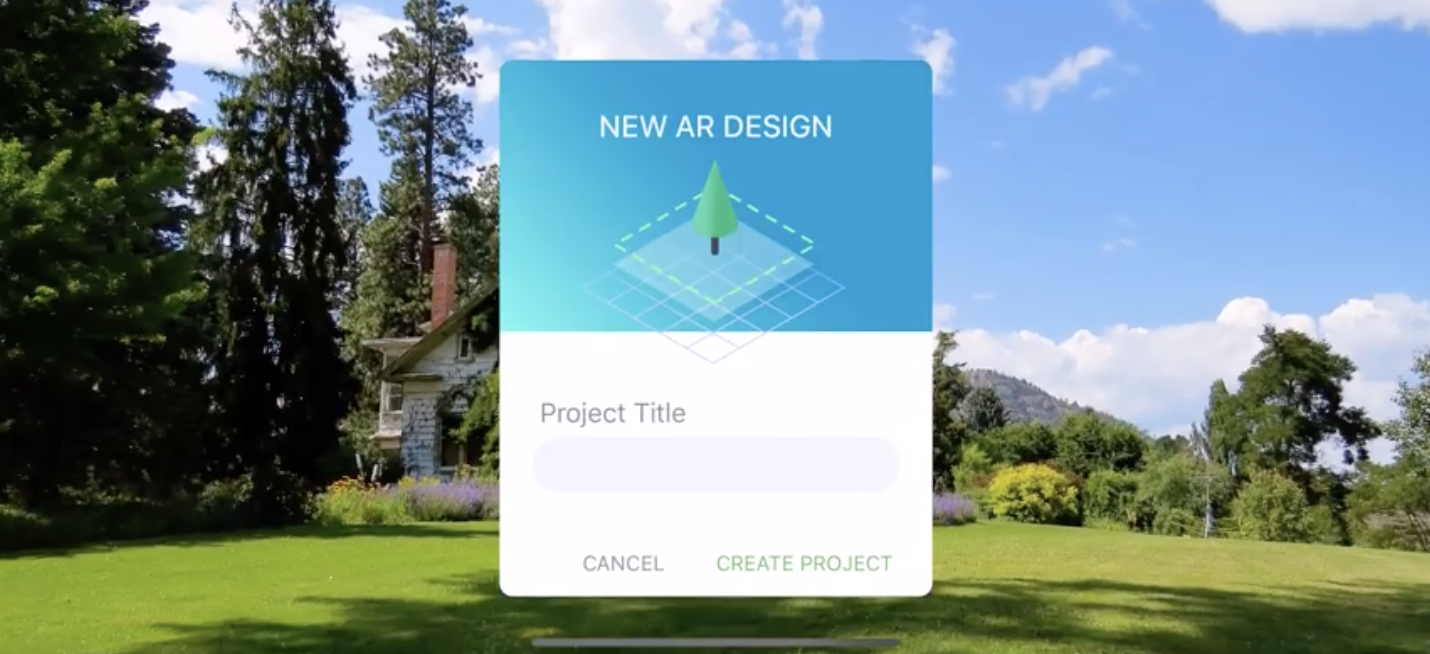
First, open the app and start by naming and creating a new design using AR.
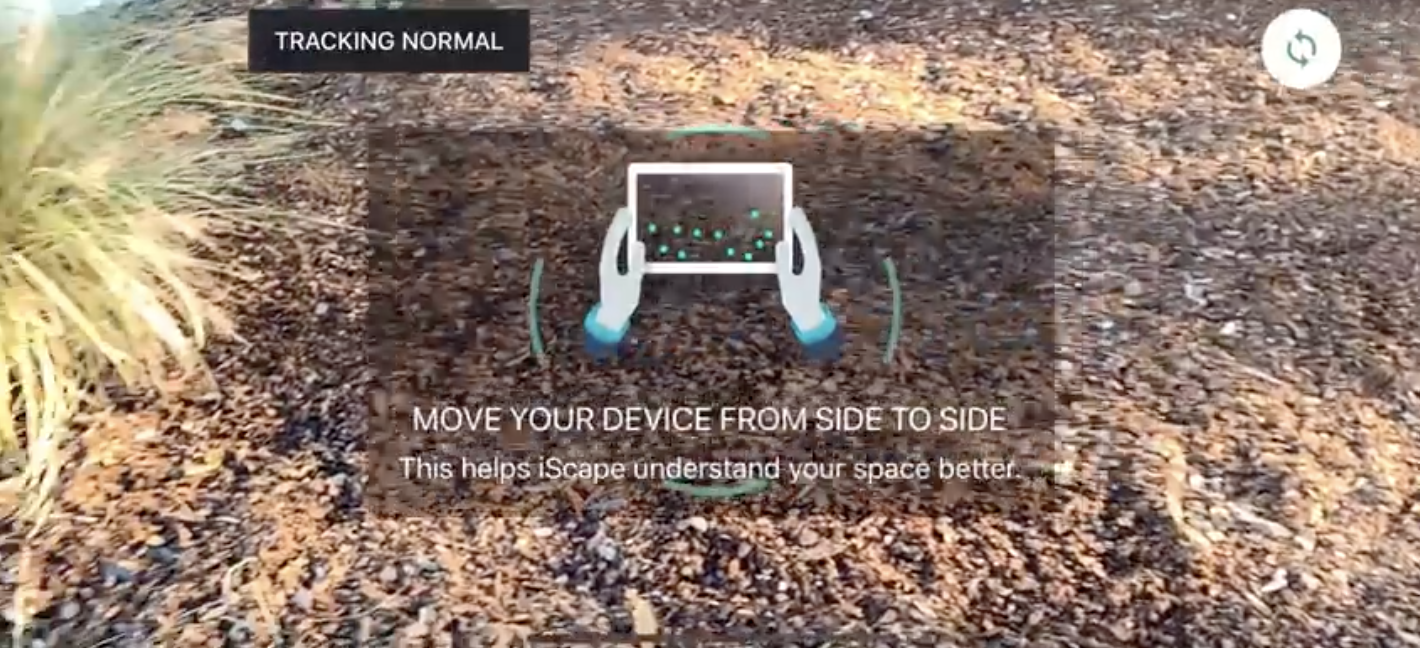
In order to detect the surface, move the camera slowly around the space where you will be landscaping. The more featured points it has collected, the better the app will work. Once the circle closes, you are ready to start landscaping that area.
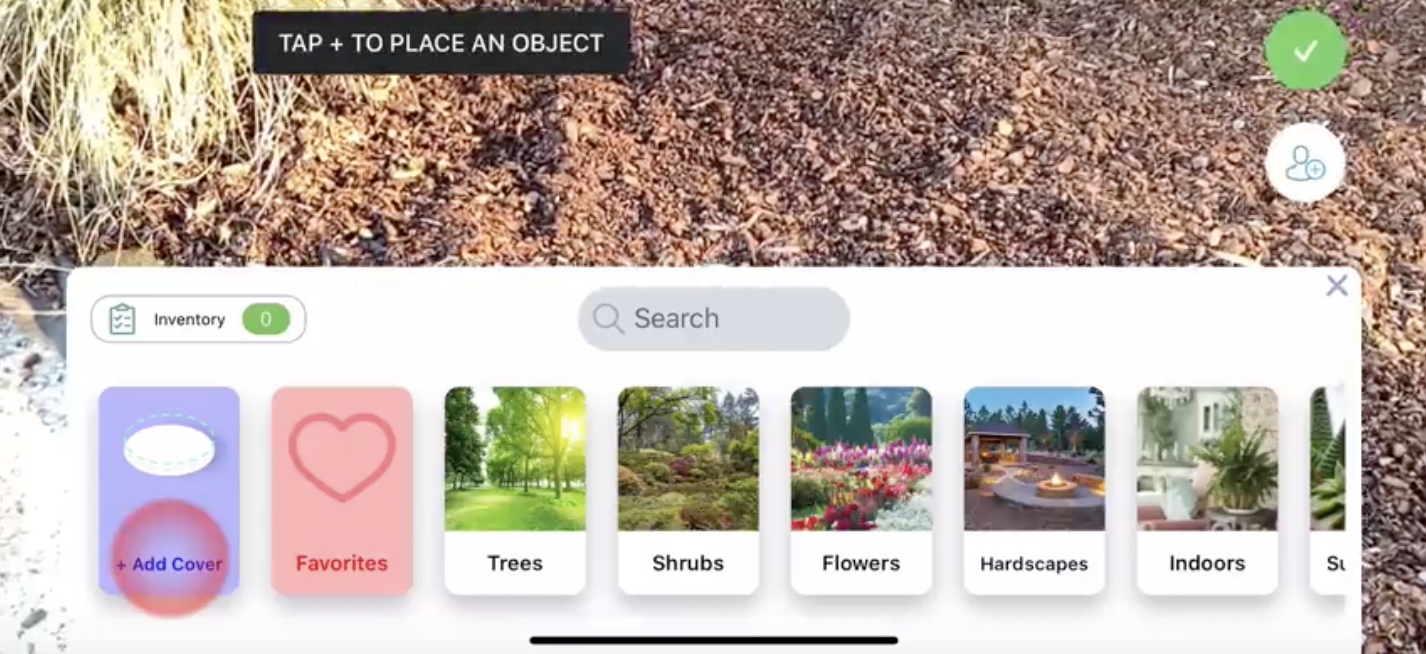
Use the add button on the lower right of the screen to insert ground cover textures and other objects. To add a texture, choose add cover.
Place and hold your finger on the pencil icon and move the camera to draw. You can also draw straight lines by choosing two points. When the area is drawn out, press the add button again to choose a groundcover texture.

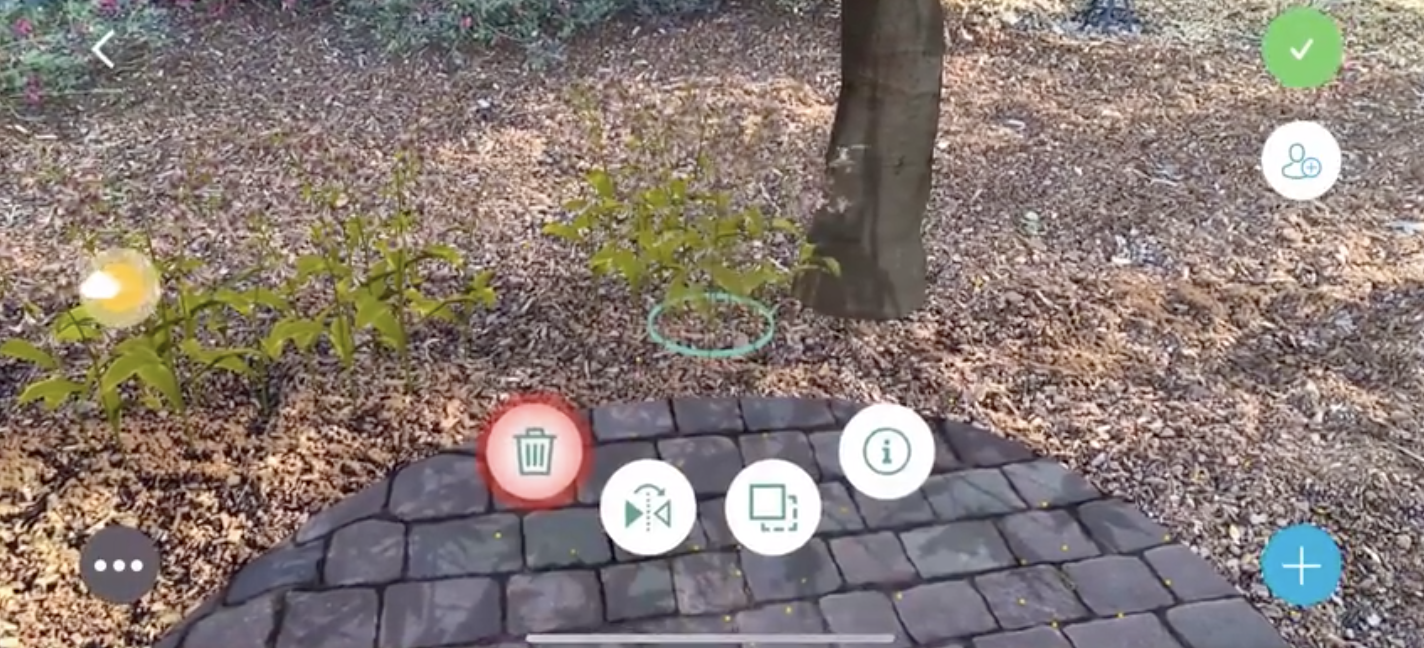
Click the add button again to insert other objects into your design. Tap the screen to place the object. You can move three-dimensionally around the objects in your space. You can also rotate the objects three-dimensionally and resize them by using the pinching gesture on the screen. While the object is selected, you can use the duplicate tool or the clip image tool.

You can also press the info button for further information about the object.

Pressing the trash tool will delete an object.
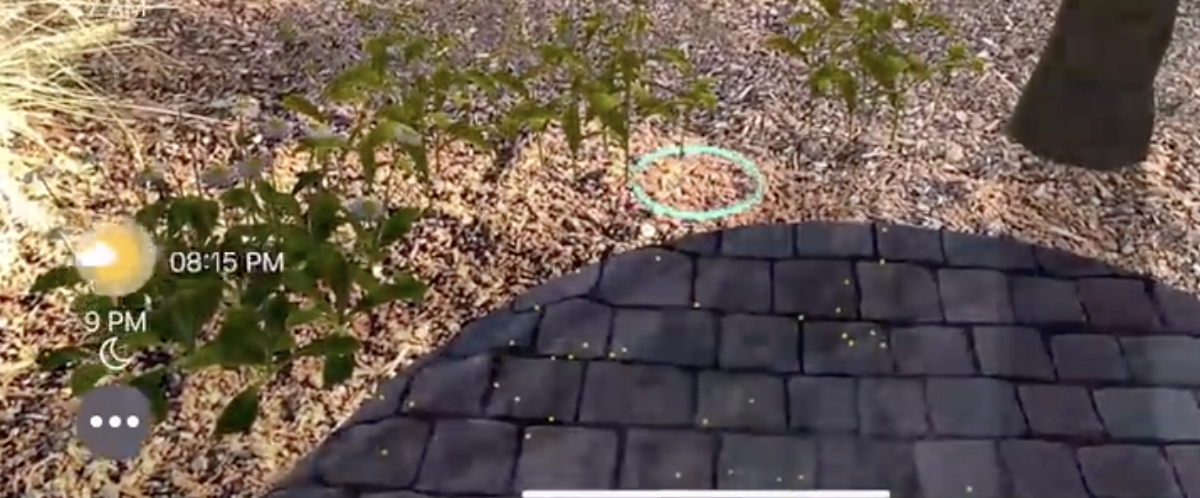
You can preview how the landscaping will look at different times of the day using the sun slider.
The menu on the lower left of the screen contains the inventory list, where you can view and edit the layers. It also contains an option to take a snapshot or video of your design and share it.

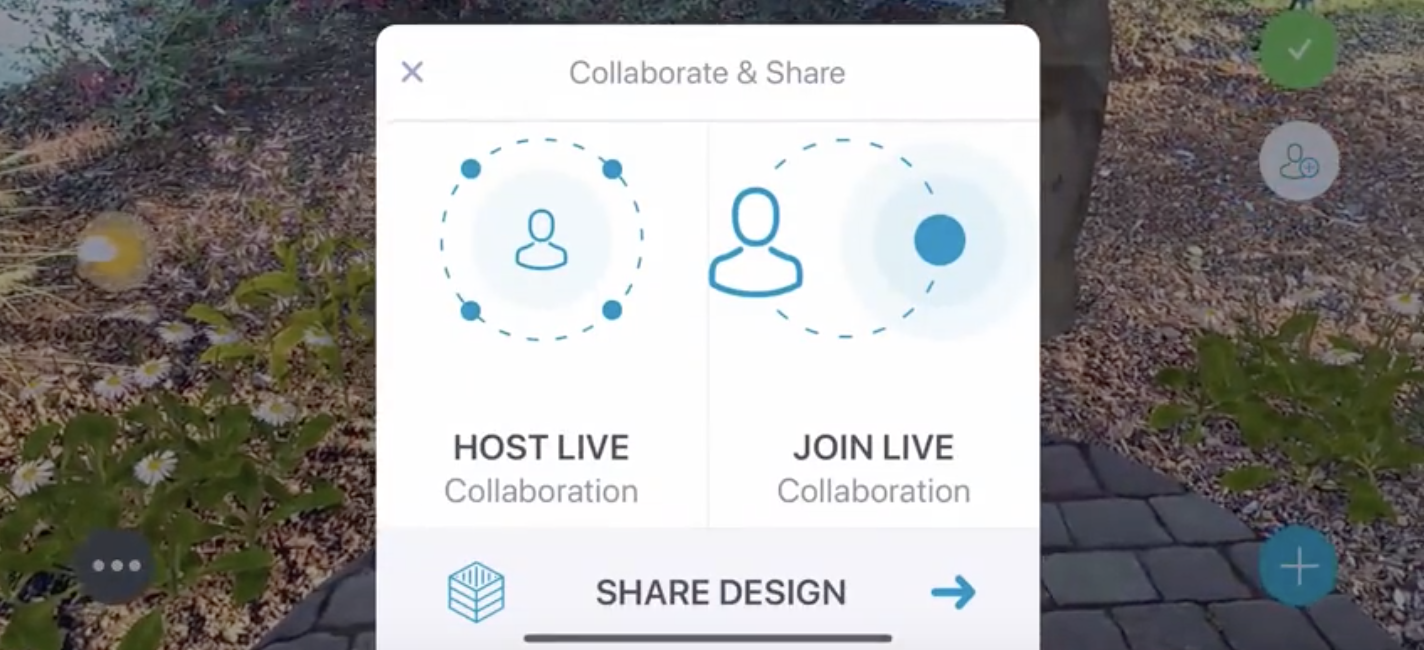
Using the collaborate and share button, you can host a live collaboration with up to six people, allowing them to join the collaboration and view the design from their own device.
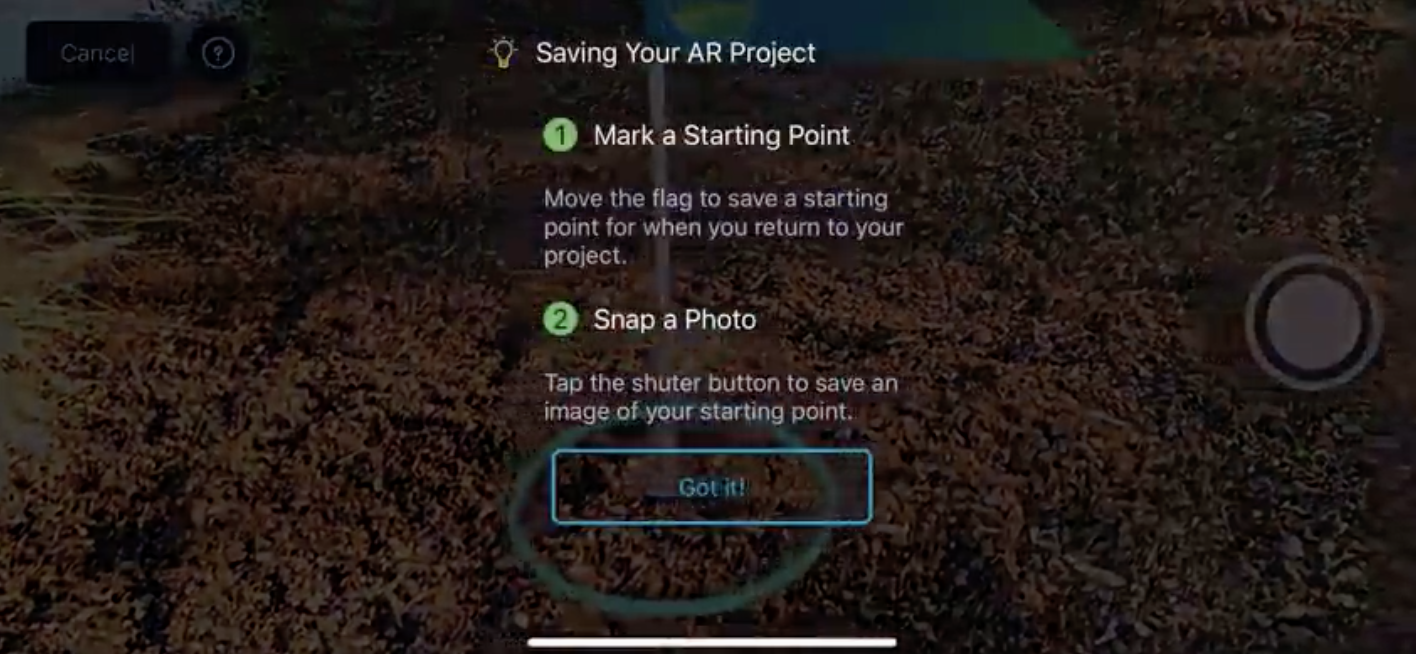
When you are satisfied with your design, press the green checkmark button at the top right of the screen. Choose the starting point for your design for returning to it at a later time. Please note this is a very important step for reopening your AR saved design.
You can even add a GPS location and notes.
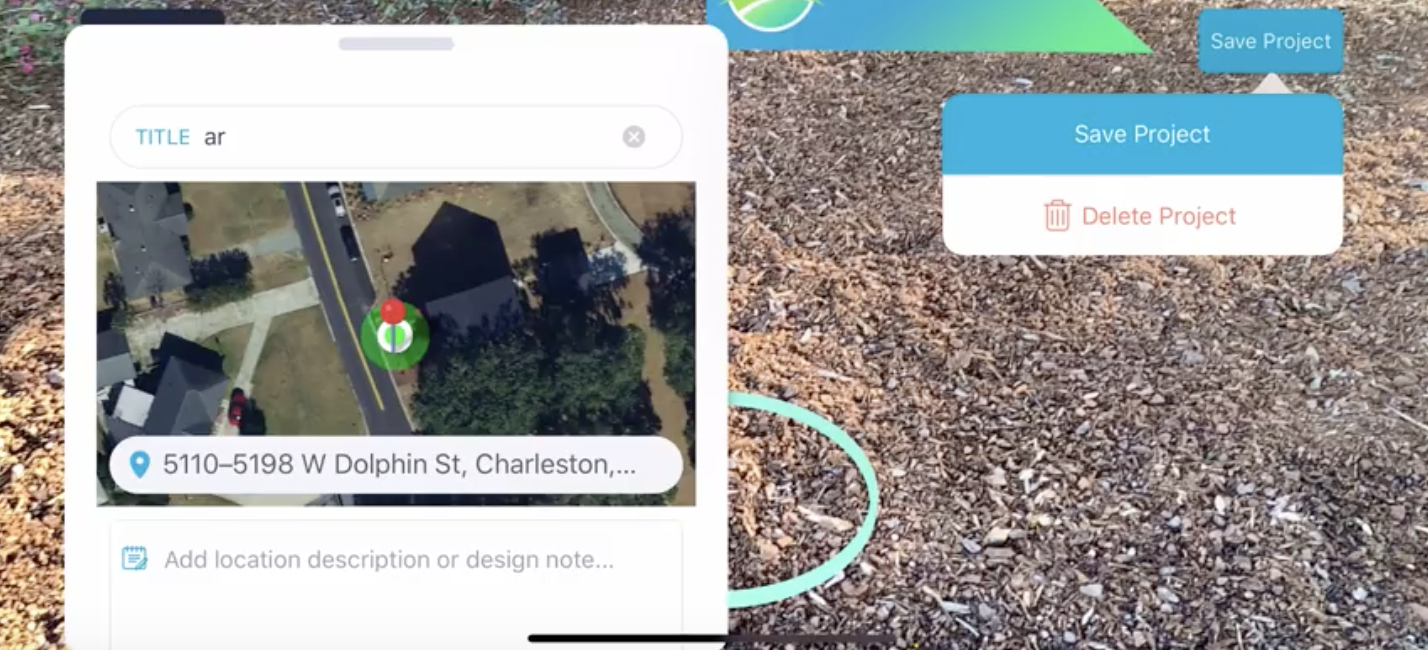
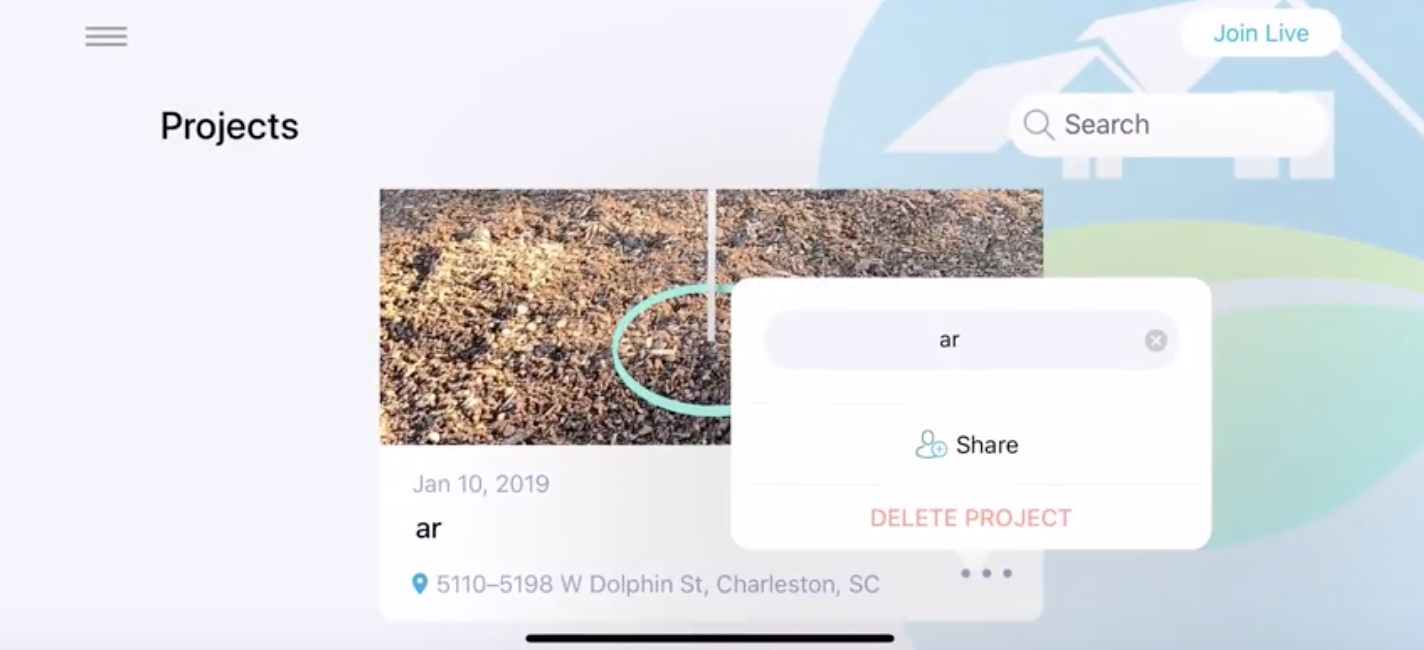
When finished, press the save project button. Your saved projects will be located on the home app page. From here, you can share the project with friends, family, coworkers, or clients.
Watch the full video here.
Not an iScape user? Download iScape now and transform your outdoor living space today!