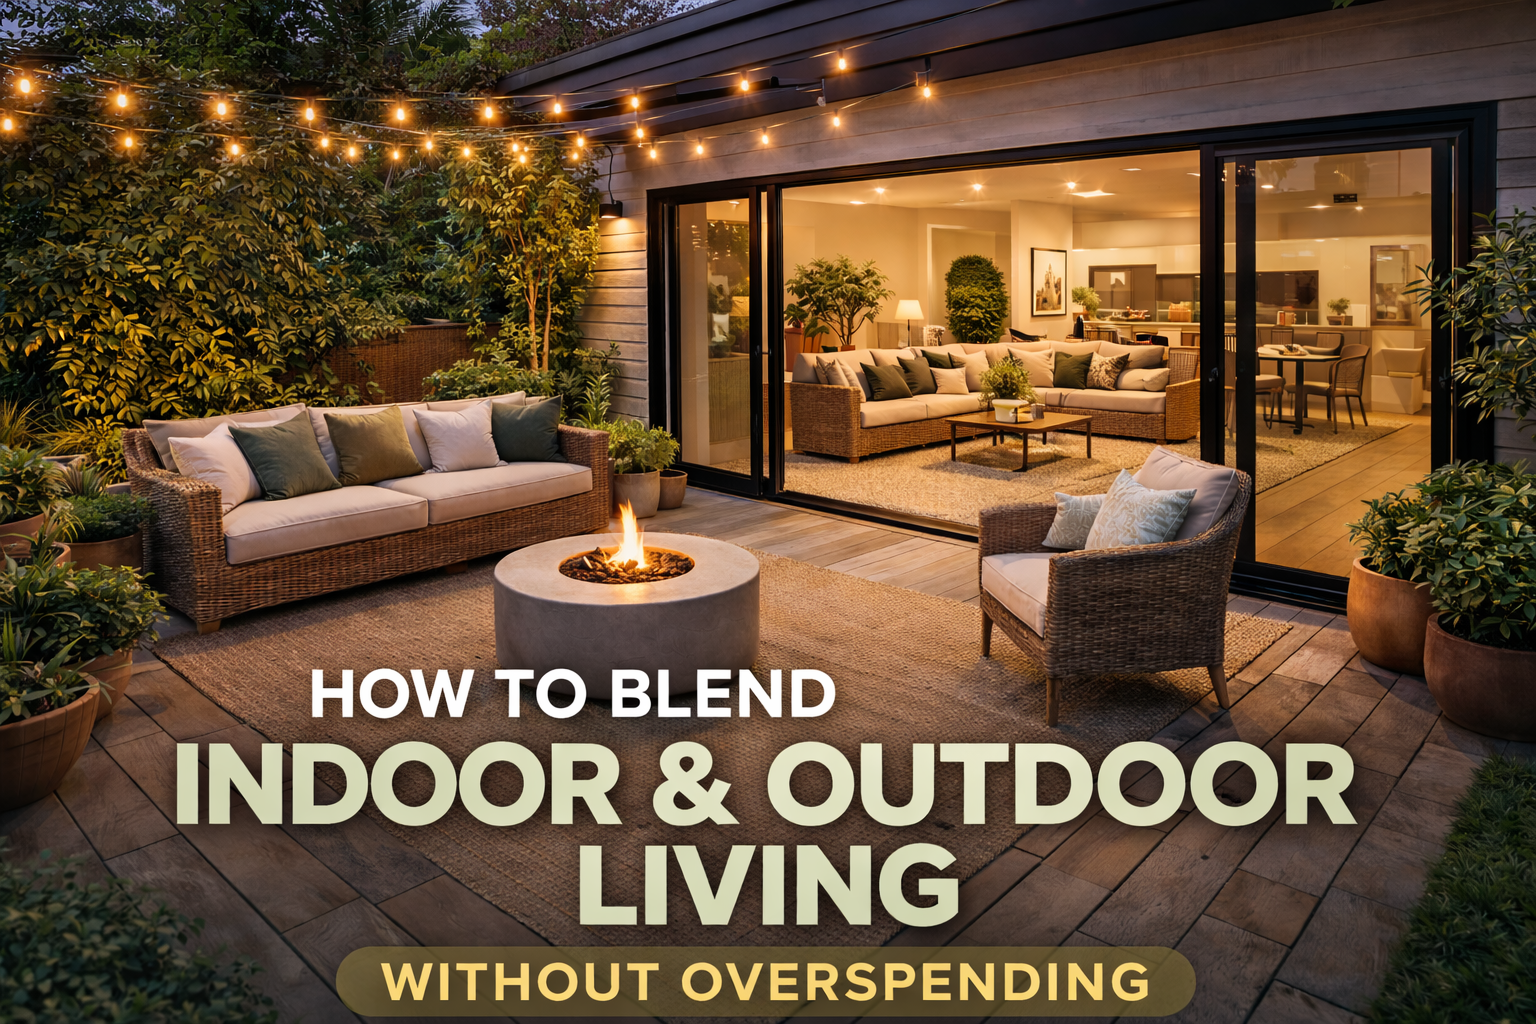
Outdoor rooms are not just a luxury trend anymore. They are a practical way to get more day to day living space without taking on a full renovation. At the same time, budgets are tighter than they were a couple of years ago. Houzz reported the overall median home renovation spend dipped in 2024, even as homeowners kept investing in upgrades that improve comfort and daily use.
The good news is that blending indoor and outdoor living does not require a massive build. Most overspending happens when people jump into permanent work before they are clear on layout, flow, and scale. If you plan the space like one connected “home zone” and build in layers, you can get the look and the function with far fewer expensive decisions.
Below is a practical, budget conscious approach that works for small patios, larger backyards, and everything in between.
What “Blended” Living Actually Means
A true indoor outdoor blend is not about matching furniture sets. It is about continuity in three areas:
Flow: You step outside and it feels like the next room, not a separate project.
Sightlines: When you look out from inside, the view feels intentional.
Comfort: Seating, shade, and lighting are good enough that you want to stay outside longer.
If you hit those three, the space will feel premium even if the upgrades are modest.
Start With the Cheapest “Bridge” Between Indoors and Outdoors
Before buying anything, fix the transition point. This is usually the sliding door, back door, or a set of French doors.
- Clean up the threshold zone
A messy transition makes even a nice patio feel unfinished. Tighten up what is already there: clean the track, repair loose trim, replace worn weatherstripping, and make sure the door opens smoothly. Small fixes here raise the whole experience. - Create one clear path
Decide where you naturally walk when you go outside. Then make that route obvious. A simple stepping stone line, a narrow paver strip, or a gravel path with edging often does more for “flow” than expensive hardscape. - Repeat one indoor element outside
Pick one thing from the interior that you can echo outdoors at a low cost. Examples: a similar color tone, a black hardware finish, a warm wood accent, or a simple stripe pattern. This repetition is what makes the spaces feel connected.
Design the Outdoor Area Like a Room, Not a Yard
Overspending usually starts with random purchases: a chair you like, a planter you found on sale, lights you saw on social media. Instead, treat the outdoor space like a room with zones.
A simple layout that works for most homes is:
- Landing zone right outside the door, a mat or small rug, one planter, a place to set a drink
- Seating zone the main “living room” outdoors
- Dining or multipurpose zone optional, even a small foldable table counts
- Green frame plants that define edges and soften views
When you plan zones first, you buy less and you buy once.
Spend on What Changes How Often You Use the Space
If you want the biggest impact per rupee or dollar, prioritize upgrades that directly increase usable hours outside:
Shade first, because it changes everything
A space that is too hot, too bright, or too wet will not get used. Shade solutions can be surprisingly affordable if you avoid permanent structures early.
Good budget friendly options include a shade sail, a cantilever umbrella, or a simple pergola kit. Start with the smallest solution that creates comfort, then upgrade later if you still need more coverage.
Seating second, but choose flexible pieces
You do not need a full matching set. What you need is comfortable seating that fits your zone size.
A smart budget move is modular seating, a small outdoor loveseat with two chairs, or even a built in bench on one edge. Flexibility matters because your needs shift through seasons and gatherings.
Lighting third, because it makes the space feel finished
Lighting is one of the lowest cost “luxury cues.” It also extends how long you can enjoy the space.
Layer it:
- a warm overhead option like string lights
- a mid level glow like wall lights or post lights
- a low level guide like path lights or step lights
You do not need a lot. You need placement that supports movement and mood.
Save Money by Avoiding Permanent Work Until the Layout Is Proven
A patio extension, new pavers, a built in kitchen, or a large retaining wall can be great projects. They can also become expensive rework if the size is wrong or the placement is awkward.
This is where planning tools pay for themselves.
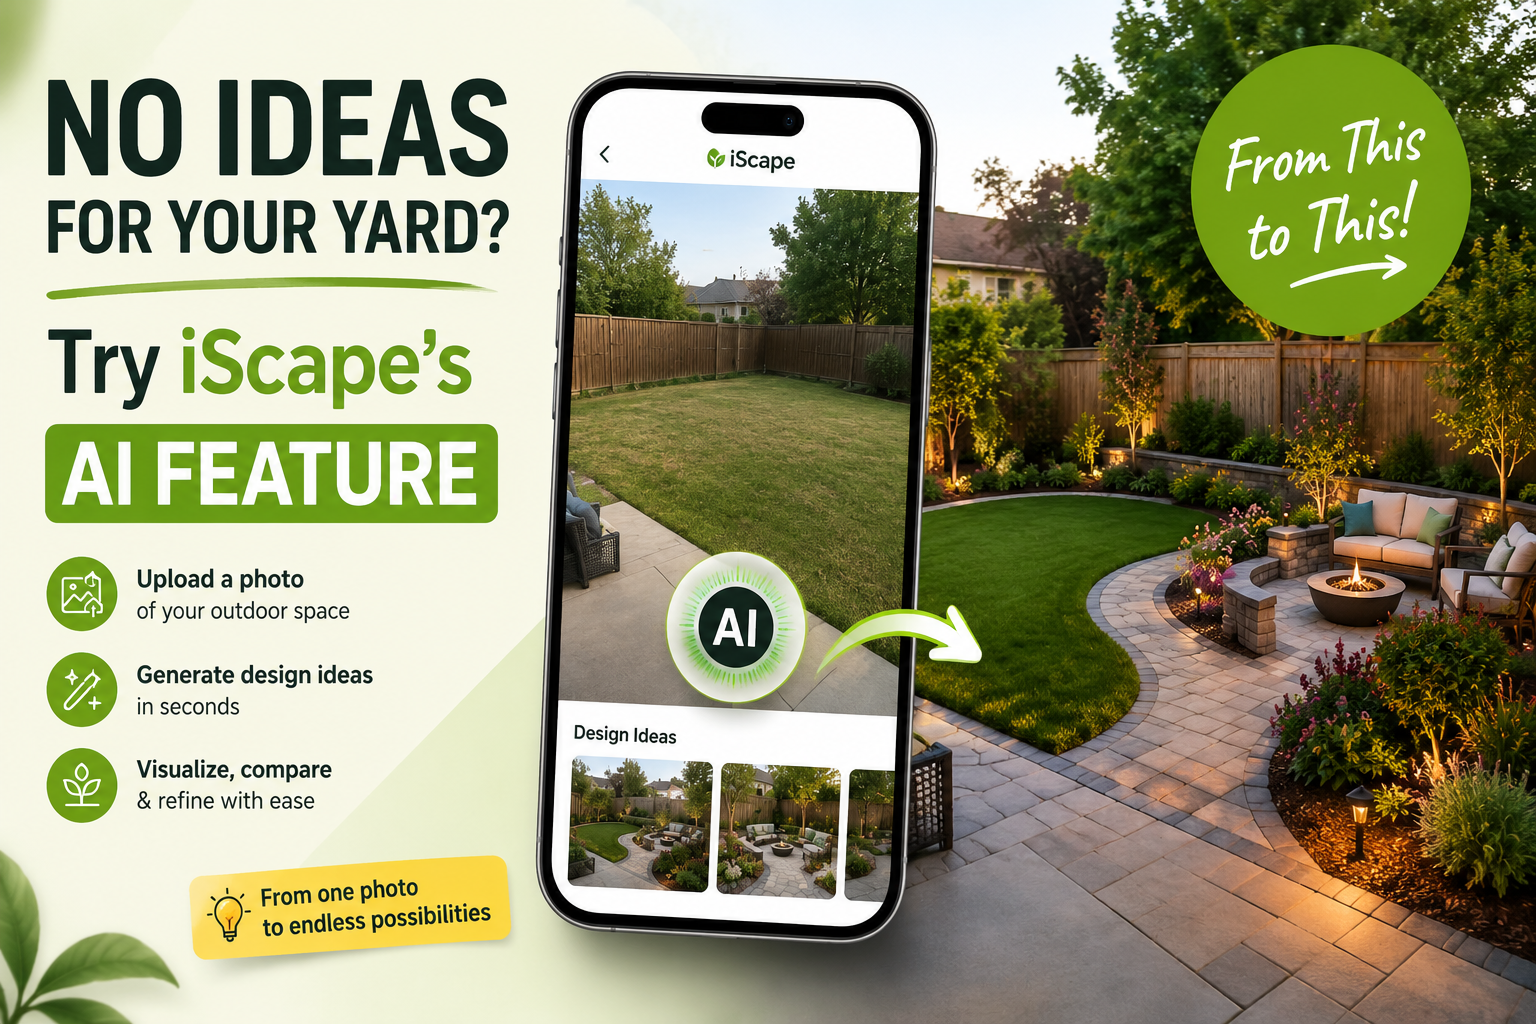
Use iScape to test layouts before you buy materials
iScape lets you design directly on a photo of your own outdoor space, so you can place zones, edges, and features where they will actually go. You can also use AR to check scale, which helps prevent the classic mistake of building something that is too big, too tight, or in the wrong spot.
Two practical ways to use it for budget control:
- Option A vs Option B: Build two versions, for example dining focused vs lounge focused, then choose the one that fits your lifestyle instead of guessing.
- Shareable plan: If you are working with a partner or a contractor, sharing a clear concept reduces revisions and prevents “I thought you meant over there” mistakes.
For pros, iScape also supports creating a professional PDF quote style output, which can help keep scope and pricing clear. Download iScape on the App Store or Google Play Store today and start designing today!
Build the Look in Layers, So You Can Stop When It Feels Complete
A budget friendly blend works best when you add upgrades in a sequence that gives you natural stopping points.
Layer 1: Define edges
Edges make a space feel designed. This can be as simple as metal edging for a gravel zone, a clean border for a planting bed, or planters that create a visual boundary.
Layer 2: Add one “anchor” element
Pick one anchor that sets the tone. It could be an outdoor rug, a small fire bowl, a statement planter, or a simple dining table. One anchor is enough.
Layer 3: Soften with greenery
Plants are usually cheaper than hardscape, and they do a lot of visual work. Use repeated plant groups instead of one of everything. Repetition looks intentional and usually costs less.
Layer 4: Add texture and comfort
Outdoor pillows, throws, side tables, and a storage bench add the indoor feeling without construction.
Layer 5: Upgrade only what still annoys you
After you use the space for a few weeks, you will know what the real problem is. Too much sun, no privacy, nowhere to set food, poor lighting. That clarity prevents waste.
Common Ways People Overspend and How to Avoid Them
Buying furniture before measuring the zone
A set that looked perfect online can overwhelm a small patio. Always plan the footprint first.
Choosing materials that fight the house
If the outdoor finishes feel unrelated to the interior, people keep “fixing” it with more purchases. Instead, repeat one or two finishes you already have.
Overbuilding for rare occasions
A giant dining setup for two parties a year often sits unused. Build for everyday life first, then add flexible extras like foldable chairs.
Ignoring storage
Outdoor living needs a place for cushions, tools, kids items, or pet gear. Lack of storage leads to clutter, and clutter kills the blended feel.
Planting without a plan
Random planting creates visual noise and future replacement costs. Group plants, repeat varieties, and place them to frame views and paths.
A Simple Budget Checklist Before You Start
- Decide your primary use: lounging, dining, kids play, or a mix
- Pick one indoor style cue to repeat outside
- Sketch zones and walking paths
- Choose your first three purchases based on comfort: shade, seating, lighting
- Test the layout on a photo of your space in iScape before you commit to materials
Ready to Plan It Without Wasting Money
Download iScape on the App Store or Google Play Store and start designing on a photo of your own space today.
Build two layout options, check scale with AR, and move forward only when the plan feels right.
FAQs
What is the cheapest way to make outdoor space feel like an extension of the home?
Focus on flow and repetition. Clean up the doorway area, create a clear path, and repeat one indoor color or finish outdoors. Add lighting and one anchor piece like a rug or planter.
Should I build a bigger patio to create indoor outdoor living?
Not always. A well planned zone can feel spacious without expanding hardscape. Test layouts first, then expand only if the space still feels tight after you have proven the arrangement.
What upgrades give the best everyday value?
Shade, comfortable seating, and layered lighting usually change daily use more than decorative items. If you can sit comfortably at the right time of day, the space gets used.
How do I avoid buying the wrong size furniture?
Plan the zone footprint first and leave walking clearance. Designing on a real photo helps you judge scale and spacing before you order anything.
Can iScape help if I am hiring a contractor?
Yes. A clear visual layout reduces back and forth and makes it easier to align on placement, materials, and scope before work begins.