.png)
A patio is the heart of an outdoor space. It’s where you gather with friends, sip your morning coffee, or relax after a long day. However, designing one can feel overwhelming—what size should it be, where should it be placed, and how will it look in your yard? That’s where iScape comes in. With iScape’s AR design tools, you can plan and visualize your patio before you ever break ground.
Here’s a simple, step-by-step guide to designing a patio in iScape.
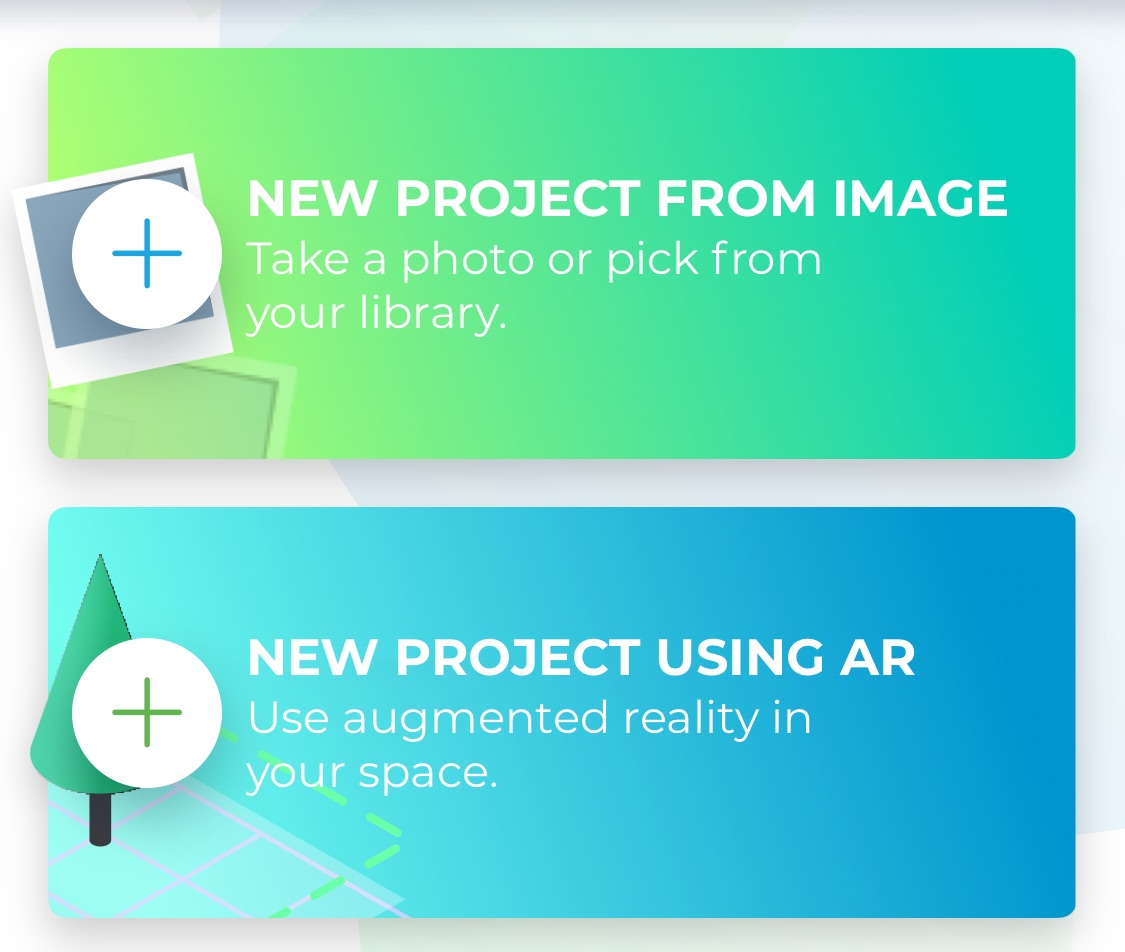
Step 1: Open iScape and Choose How You’ll Start
When you first open iScape, you will choose how you want to begin your project. You have two main options:
- Use AR (Augmented Reality): Point your phone or tablet at your yard and scan the area to see the results. By using AR, you can design directly in your real space, with elements scaled to size.
- Start with an Image: If you prefer to design from a picture, you can:
- Take a new photo of your or your client's yard directly in the app.
- Upload a photo from your camera roll.
- Choose a sample image from iScape’s built-in library.
- Pull a view from Google Street View for a front yard or curbside design.
This flexibility lets you design a patio however you prefer—live in AR for a walk-through experience, or from an image for a more traditional layout approach.
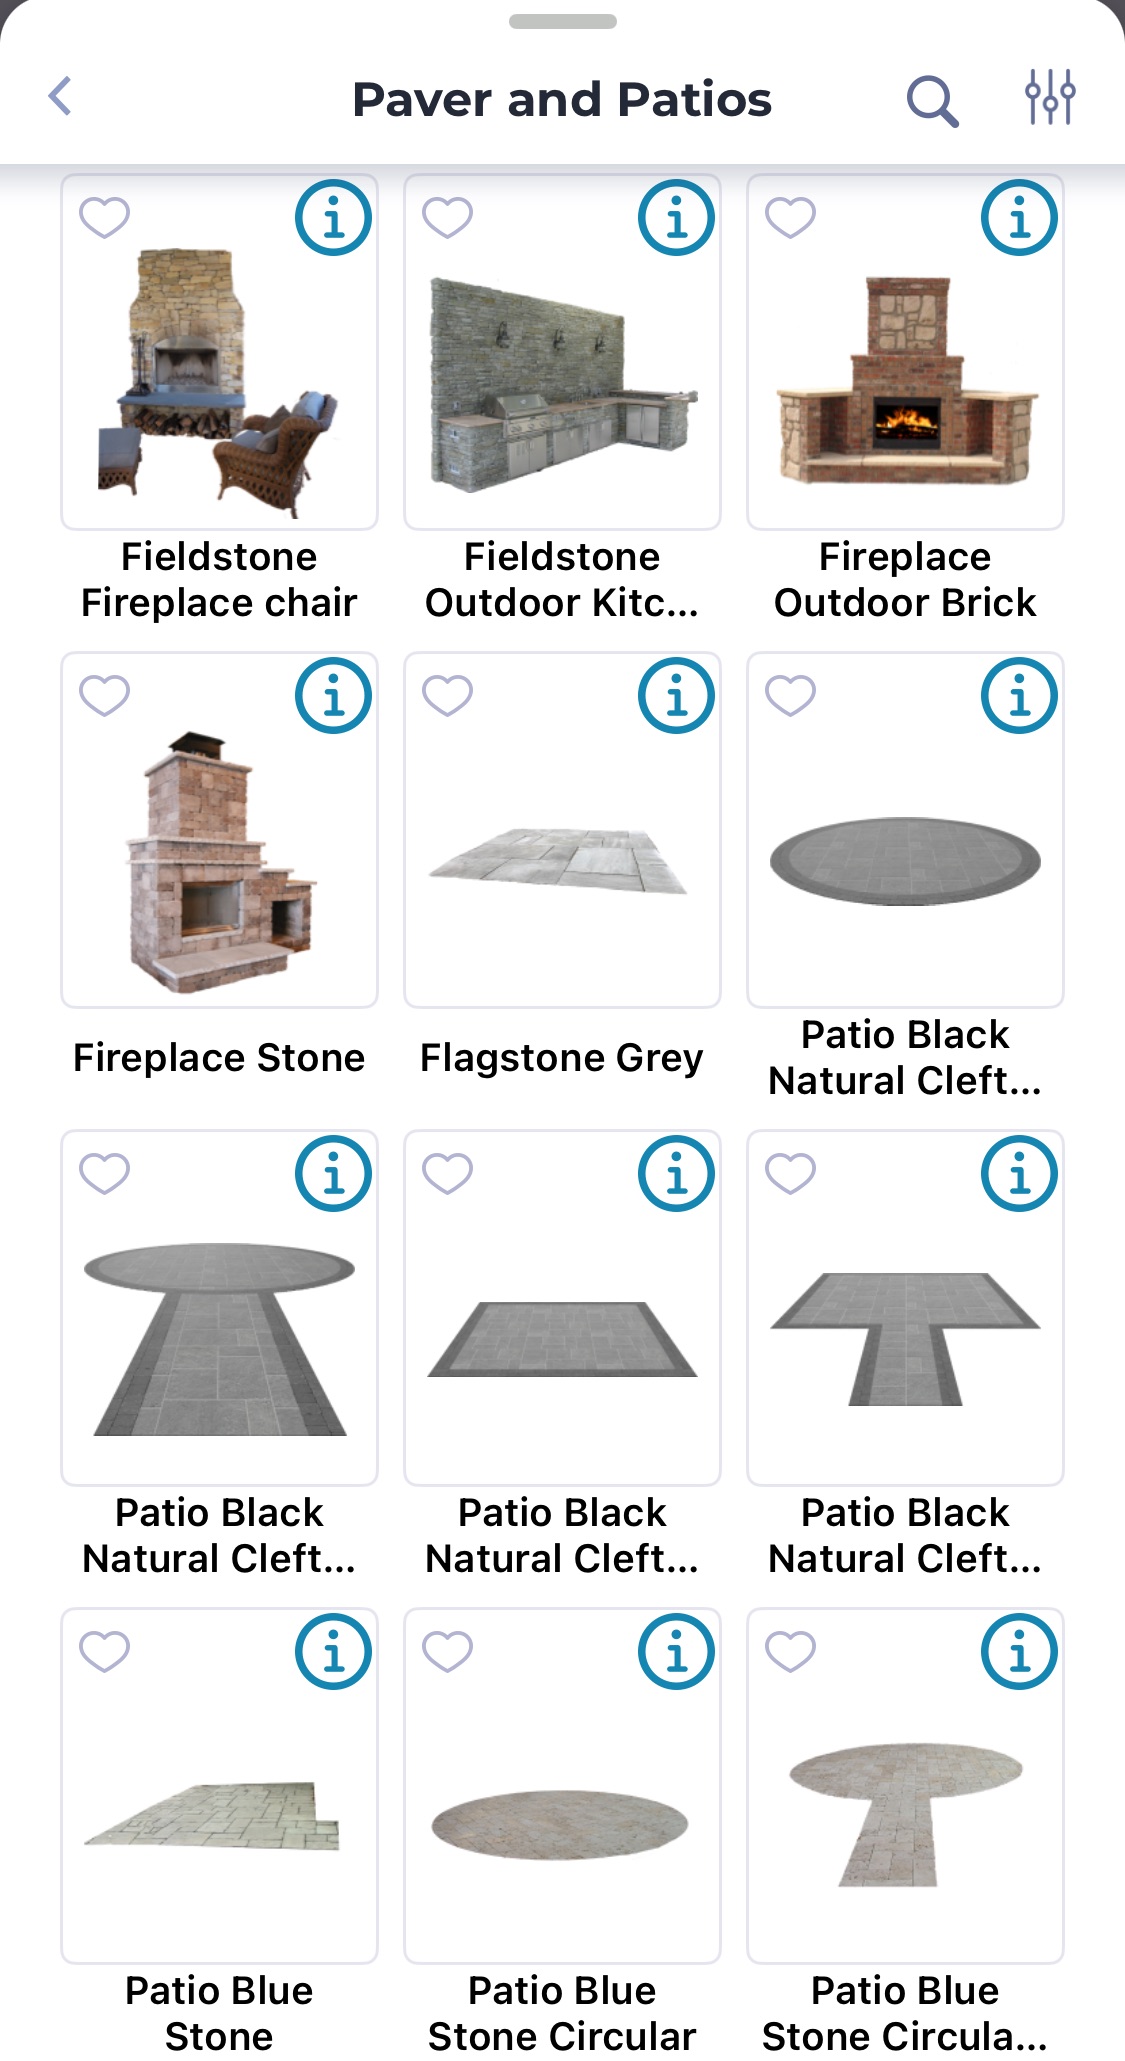
Step 2: Choose the Patio Shape and Size
Determine the type of patio that suits your or your client's lifestyle. Do you want a rectangular layout for a dining set, a rounded stone circle for a firepit, or a modern L-shaped design? In iScape, you can drop in a patio surface and then manually reposition, rotate, and resize it to match your yard's layout visually. However, the app does not automatically scale every object to exact, field-ready dimensions or produce detailed measurement take-offs; on-site verification of size, materials, and layout is still required before the build.
Step 3: Select Materials and Finishes
One of the most exciting parts of patio design is choosing the materials. With iScape, you can experiment with stone pavers, brick, or stamped concrete. See how each finish looks against your home, landscaping, and overall yard layout—without spending a dime at the store.
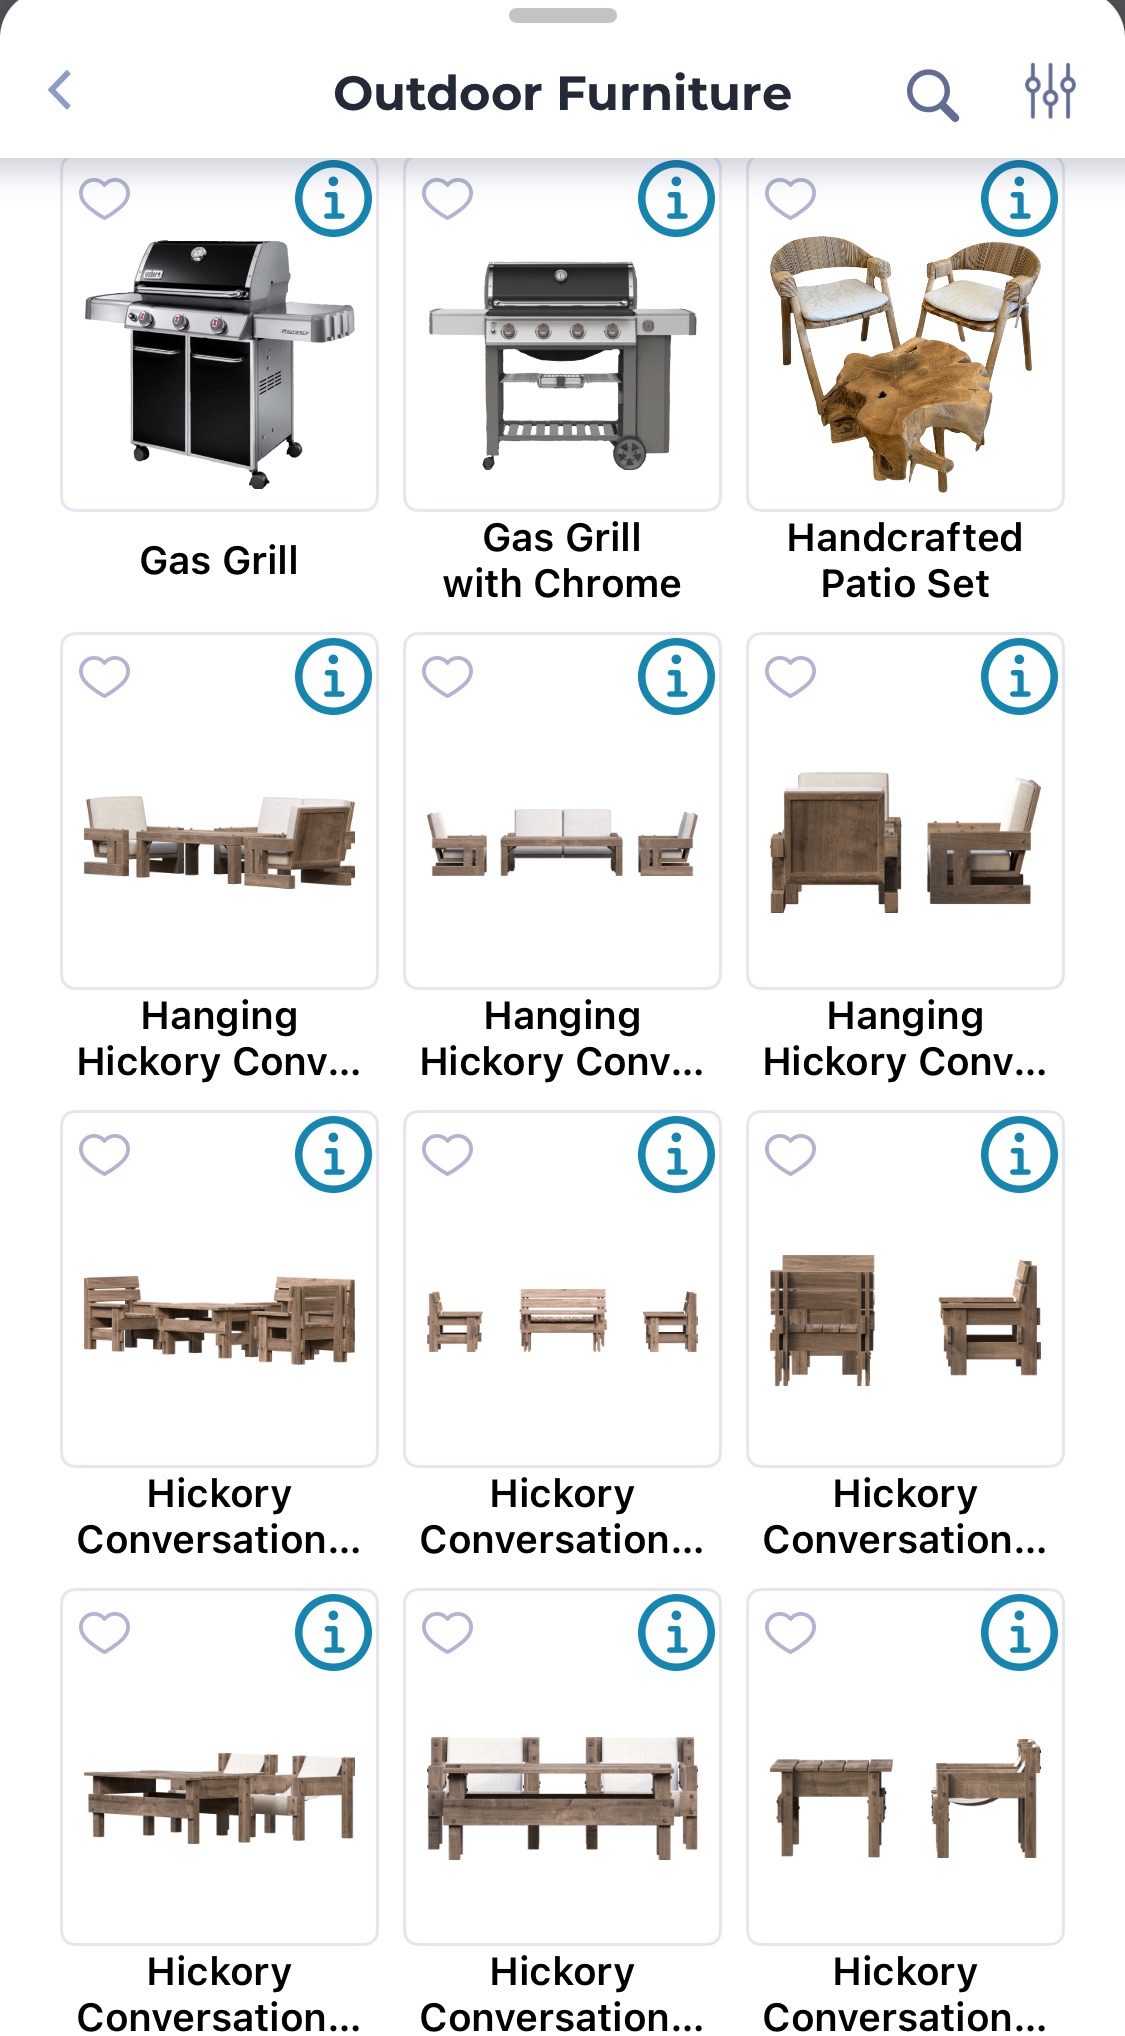
Step 4: Add Furniture and Features
What’s a patio without comfortable seating? In iScape, you can add furniture like chairs, outdoor sofas, or dining tables. You can also place a fire pit, grill, or even a pergola. This step lets you design the function of your patio—whether it’s for entertaining, relaxing, or dining outdoors.
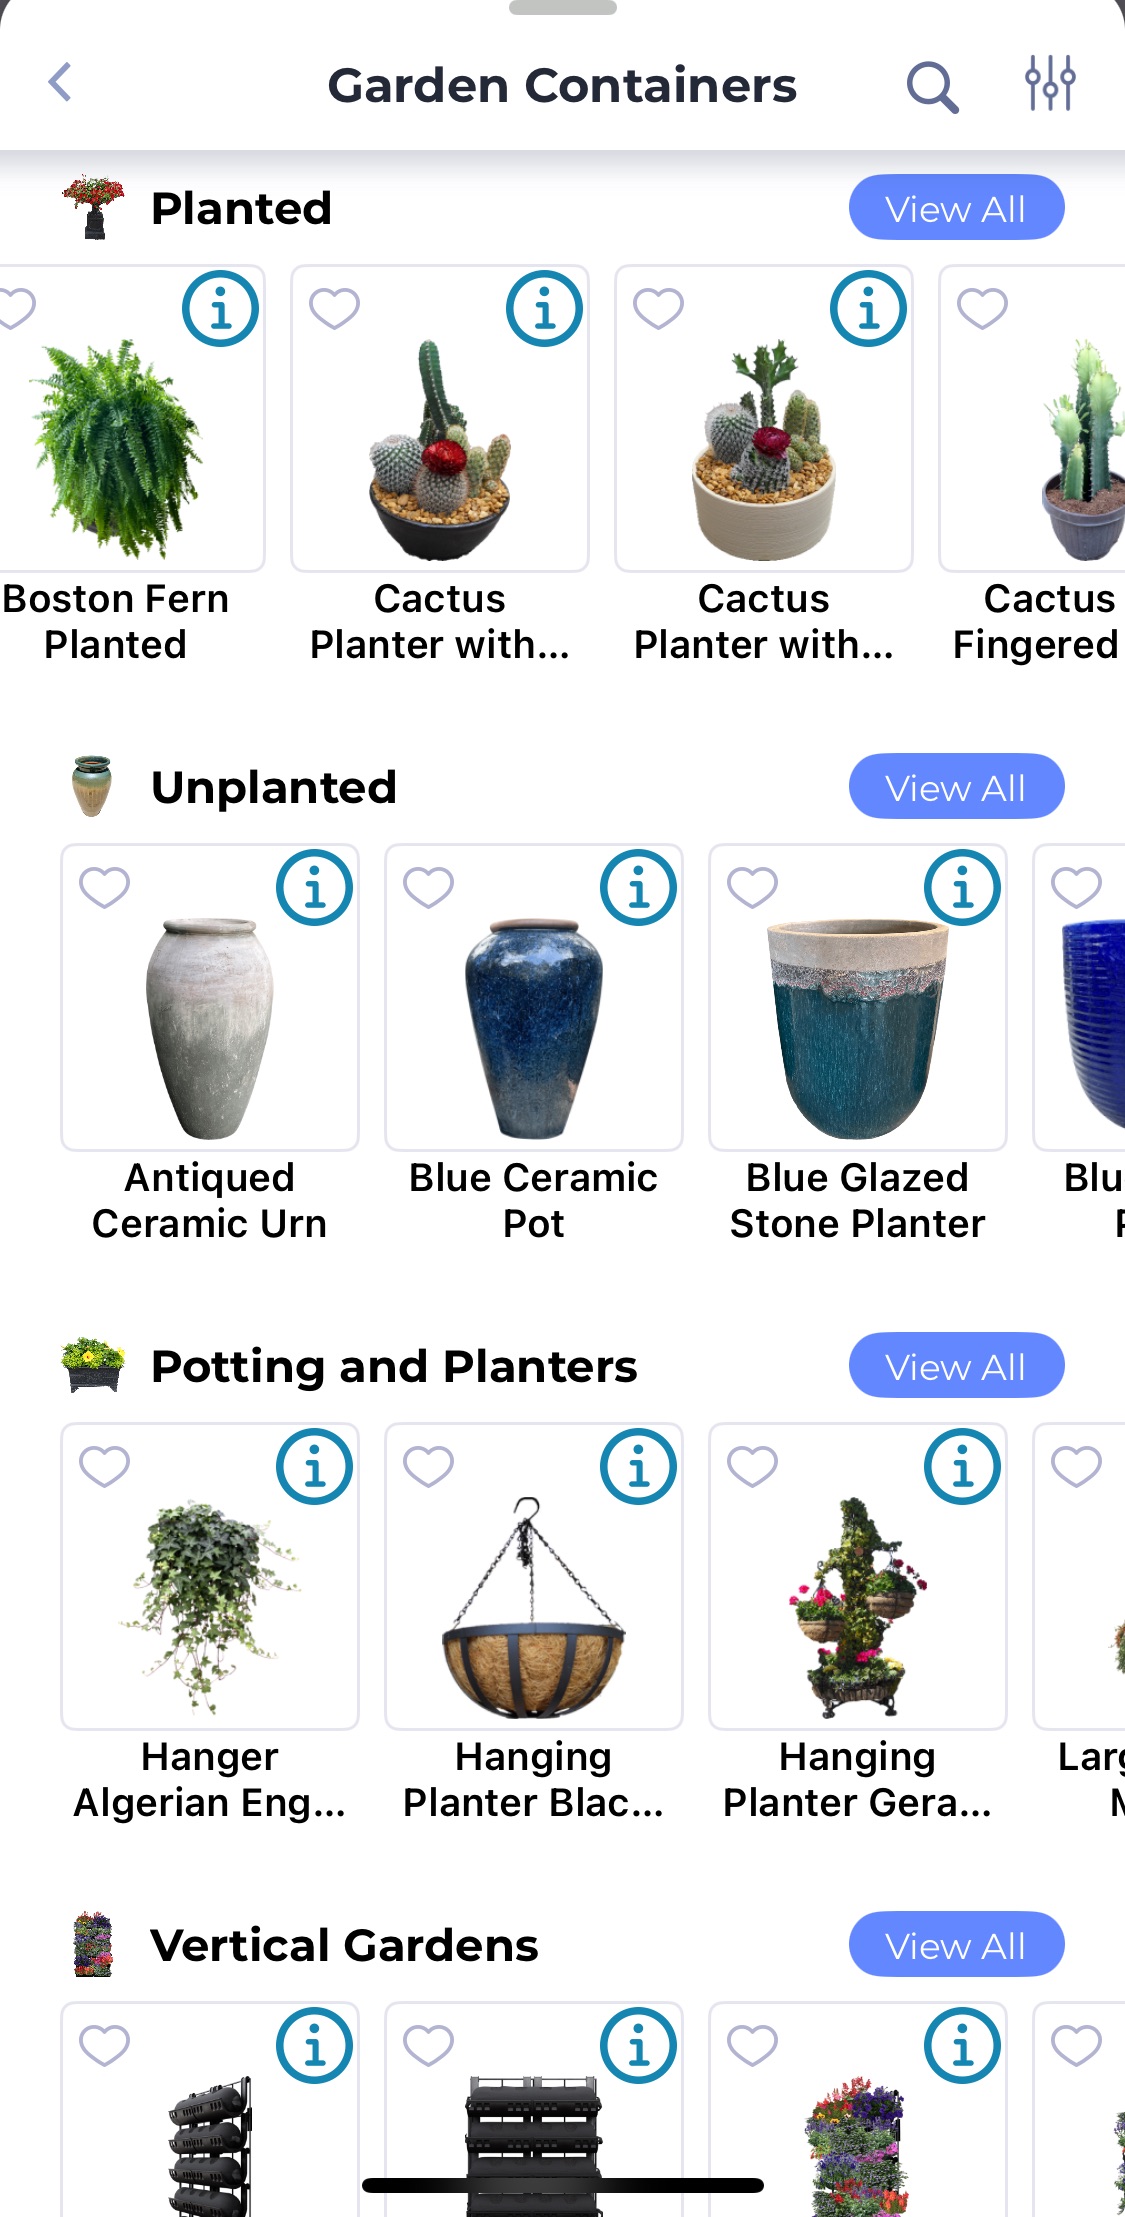
Step 5: Enhance with Landscaping
Patios always look better when framed with landscaping. Use iScape to add flower beds, shrubs, or decorative planters. For fall, try layering mums or ornamental kale around your patio edges for a seasonal touch of color and texture. By trying this it will create a space that feels polished and inviting.
Step 6: Save and Share Your Design
Once your patio design is complete, save it in the app. You can share it with clients, family, friends, or even a landscaping professional. The iScape design makes it easy to get feedback—or to hand your vision off to someone who can bring it to life.
From Idea to Reality
Designing a patio doesn’t have to be complicated. With iScape, you can explore options, visualize materials, and create the perfect outdoor gathering space right from your phone or tablet. By following these steps, you’ll not only save time and money—you’ll also enjoy the process of designing a patio that truly fits your lifestyle.
Download iScape on the App Store or Google Play Store today and start designing your dream patio with confidence.